Do you want to host Blooket games to have an interactive learning session with your students and don’t know how to start? We are here to help!
With everything going online post-pandemic, the interactive learning experience was a bit lost. So, to make learning more engaging and interactive, many platforms have been developed over time. Blooket is one such outstanding platform that makes learning more entertaining and fun. It gamifies the study content to generate interest among the students. These games include puzzles, quizzes, flashcards, and other games. In this article, we will share every detail you want to know about hosting Blooket games. It includes the steps to host Blooket games, the basic requirements you need to have for a smooth experience, and the process of creating your own set for the game. So keep reading to know more.
Table of Contents
Required Things to Host Blooket Game
Before you proceed to host the Blooket game, you need to have access to a few things. These are a list of things you need to have before hosting the Blooket game.
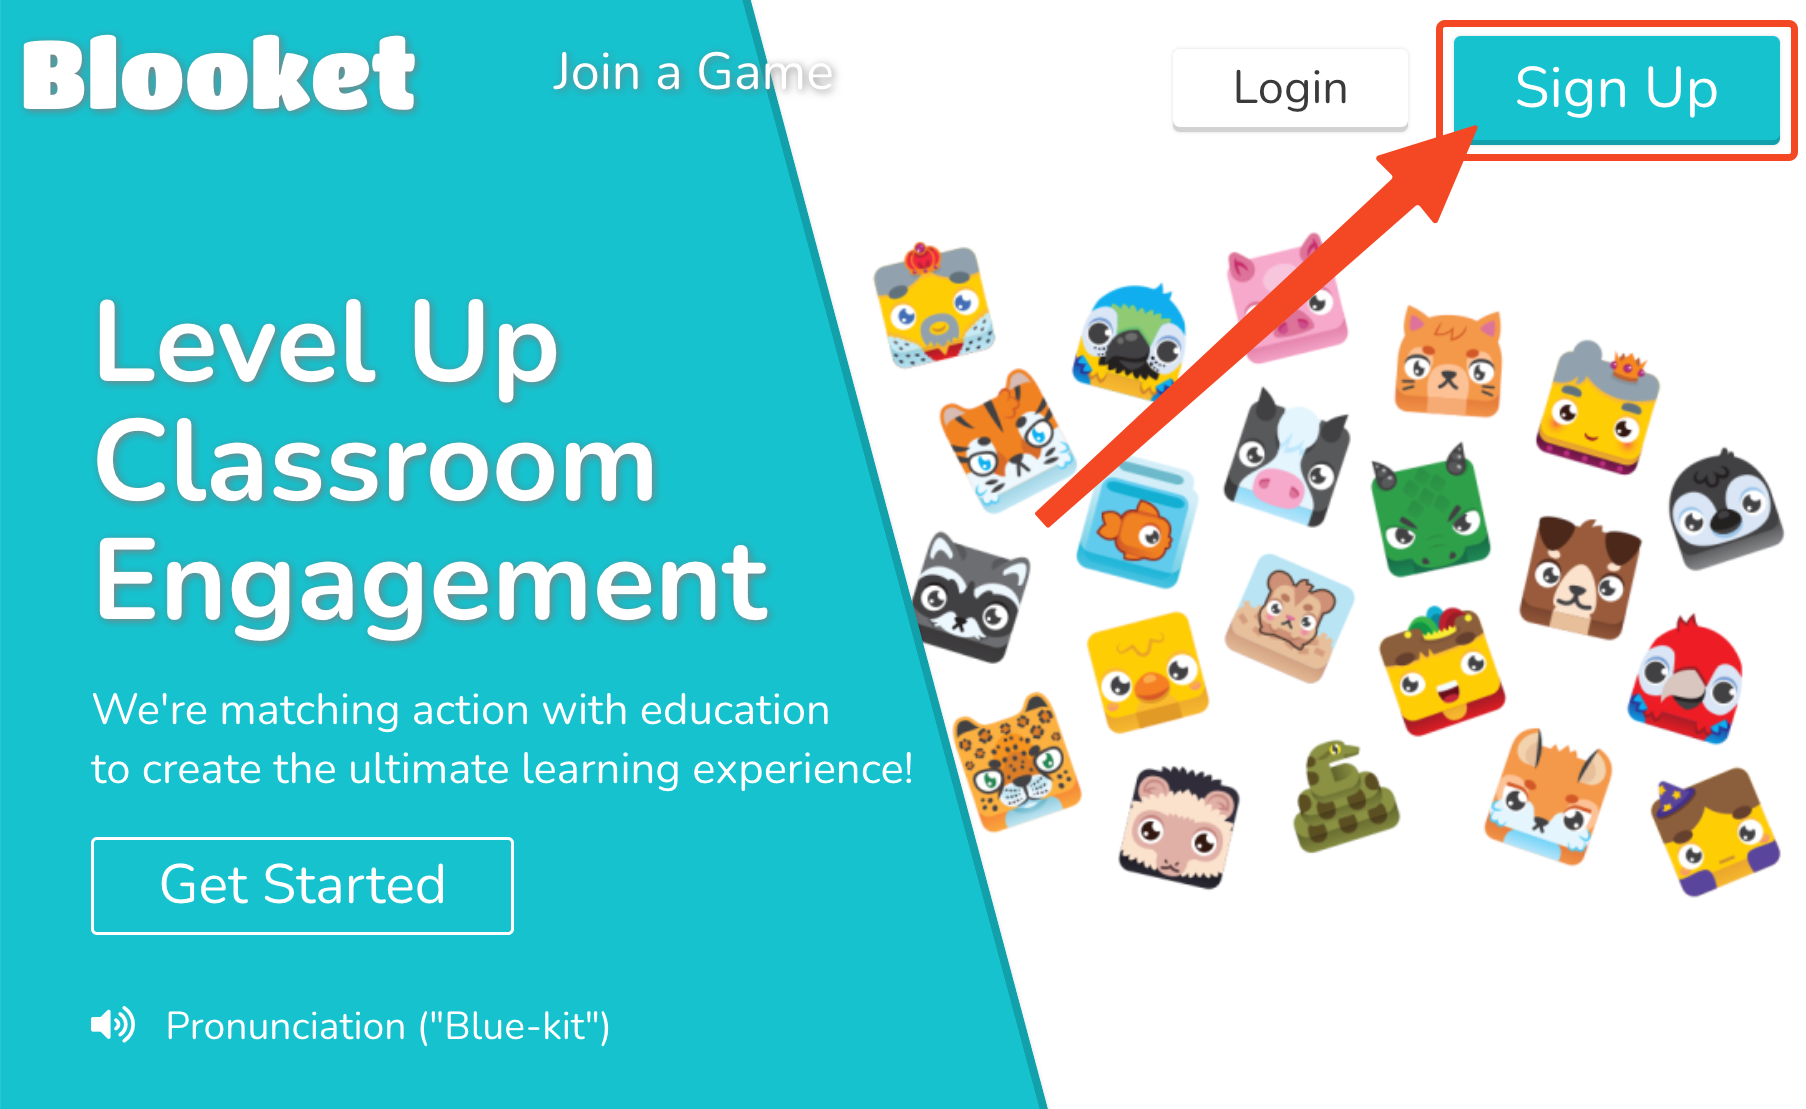
- Blooket Account – Needless to say, you should have a Blooket account to host Blooket game. If you don’t have an account, you can go to the Blooket website and sign up for a free account.
- Stable Internet Connection – Being an online platform, Blooket needs stable internet to work smoothly. So make sure you have a stable internet connection.
- Game Content – After the basic requirements, you have to prepare the proper content for your game. This can include questions, tasks, or other prompts with which the participants will engage.
That’s all you need to host Blooket game!
How to Host Blooket Game?
Now, with all the requirements in place, let’s begin hosting a Blooket game.
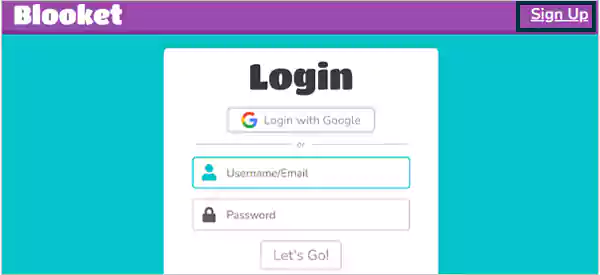
1. Go to the Blooket website and sign in to your account.
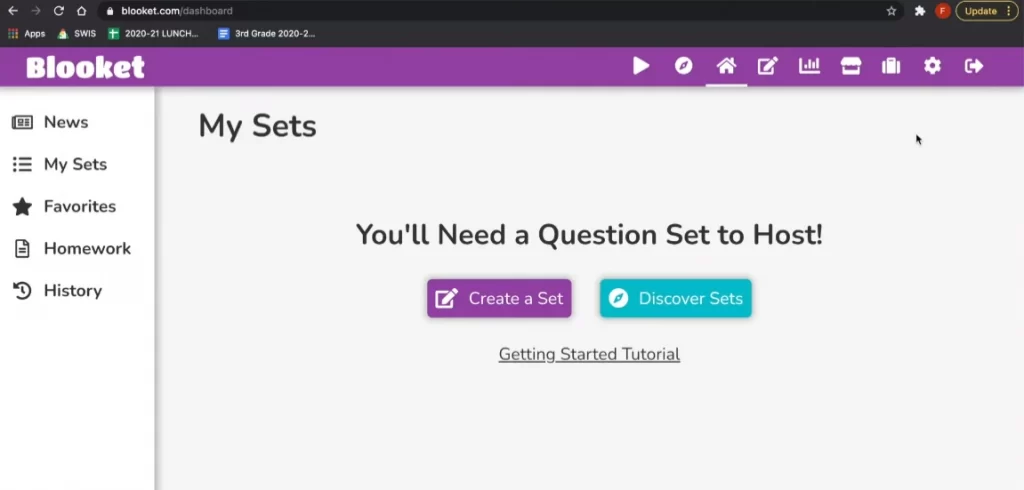
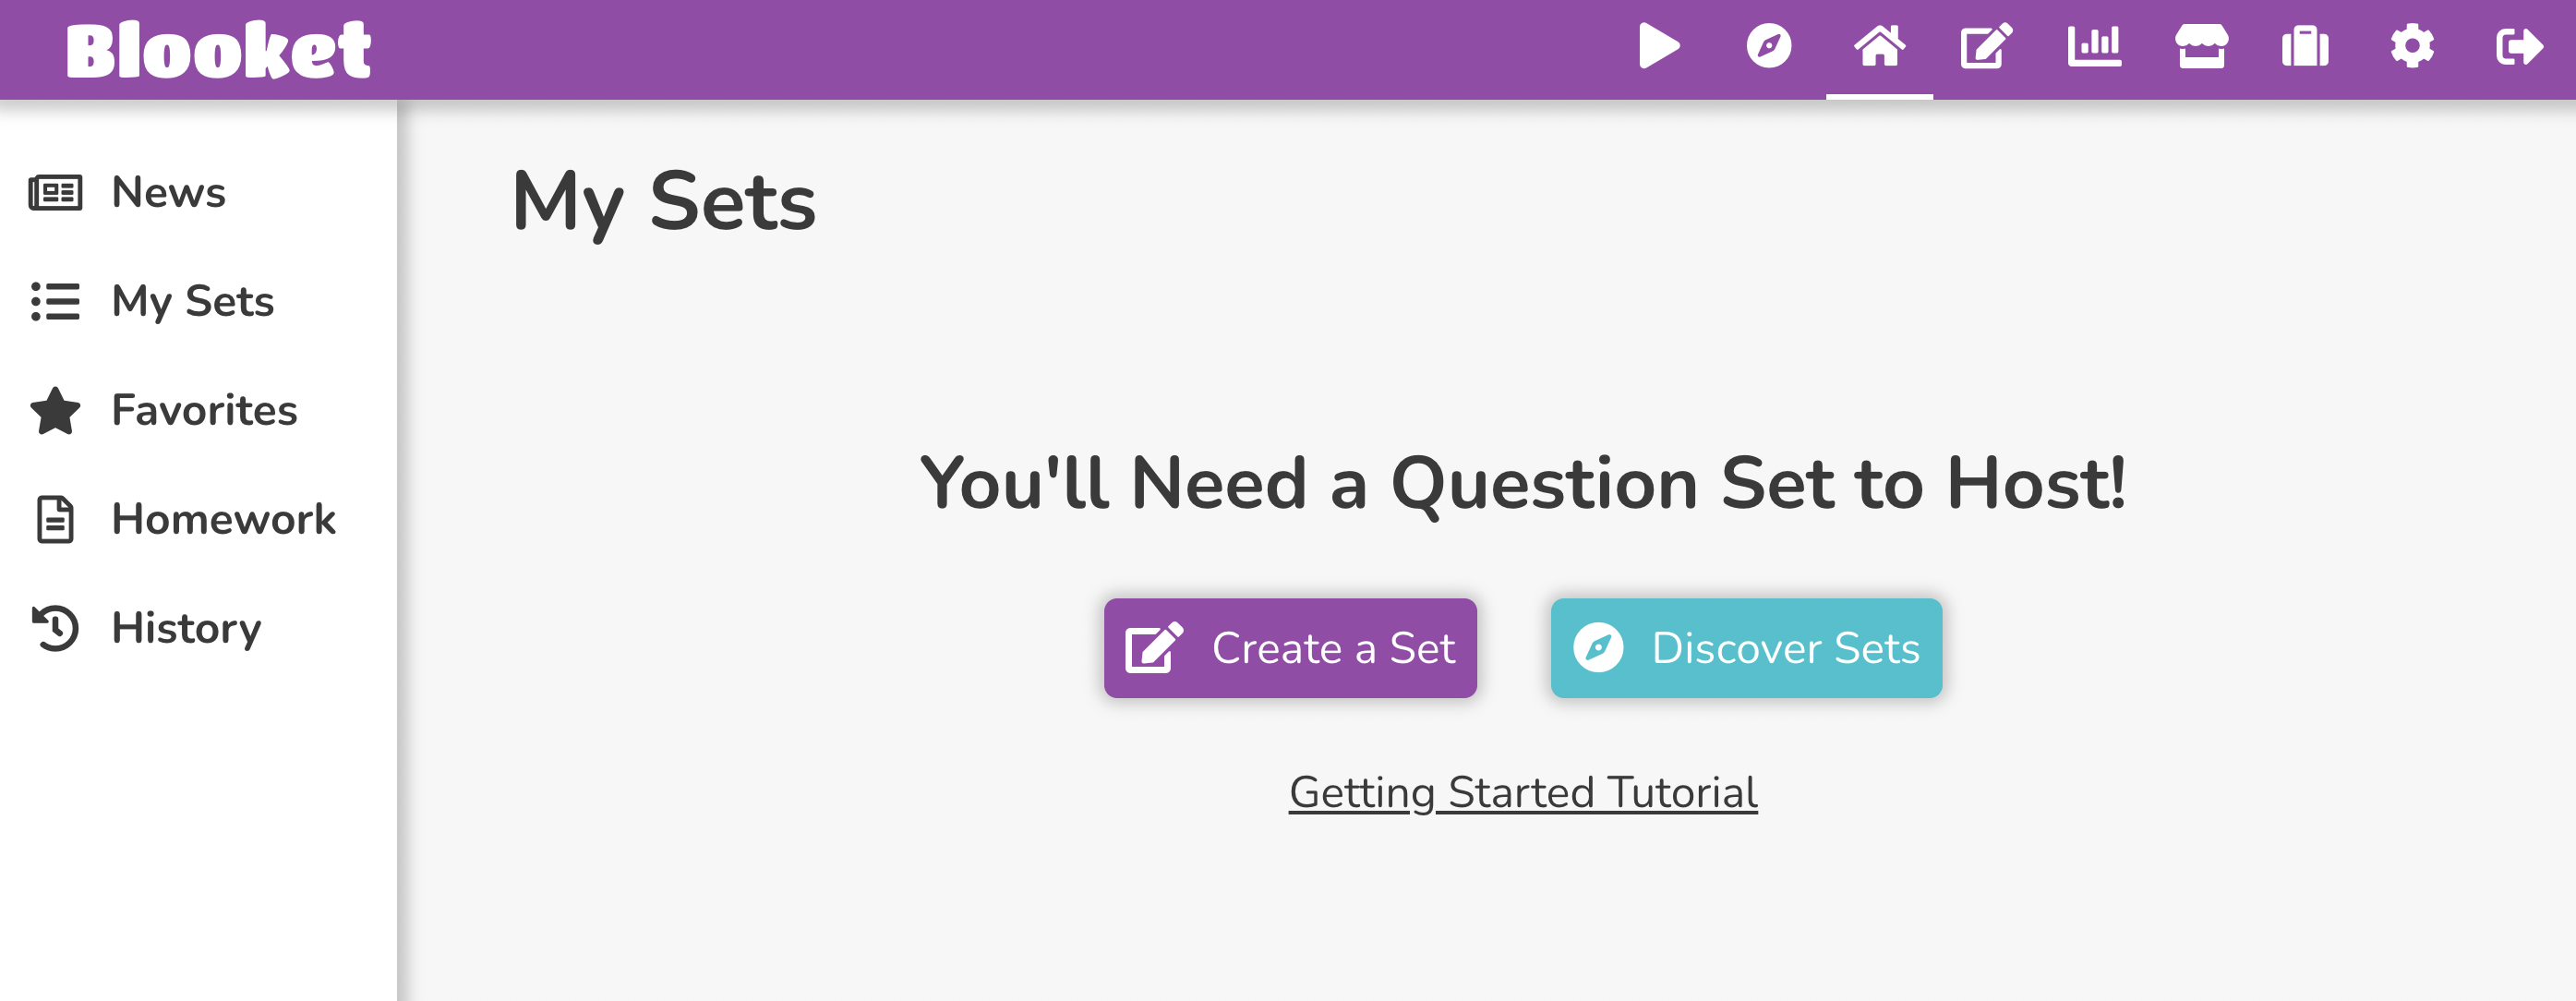
2. After logging in you will land on the Blooket dashboard. Here you will find options to create, manage, and play games. Understand this layout for here you will host Blooket games.
3. On this page, click on the “Create” option and choose the type of game you wish to create.
4. The next step is to find the right question set. By clicking on “Discover,” you can choose over 20 million sets created by other users. You can use the search bar to find the set which fits the best for you.
You can also use one of your own sets from your “My Sets” area. If you don’t know how to create one, the next section covers that.
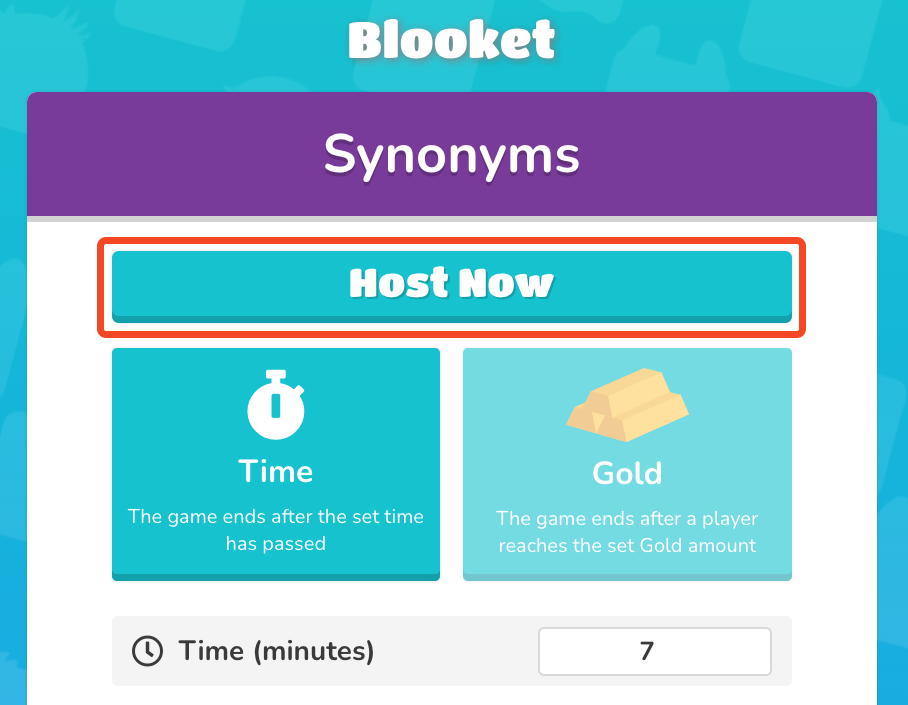
5. You can check out various game modes and hosting options. Click on each mode to learn more about it, then pick “Host” when you find one you like. Most games let you choose how the game ends, it’s either based on time or achievements.
6. Next, you’ll need to set the Time & Goal option; select ‘Time‘ and set your desired finish time. You can customize the game settings as you want. You can change the timer for each question, show or hide the leaderboard, and choose if players can see the correct answers after each question. Adjust these settings as per your preference.
7. After that, click on ‘Host Now.’ This will generate the Blooket Join Code.
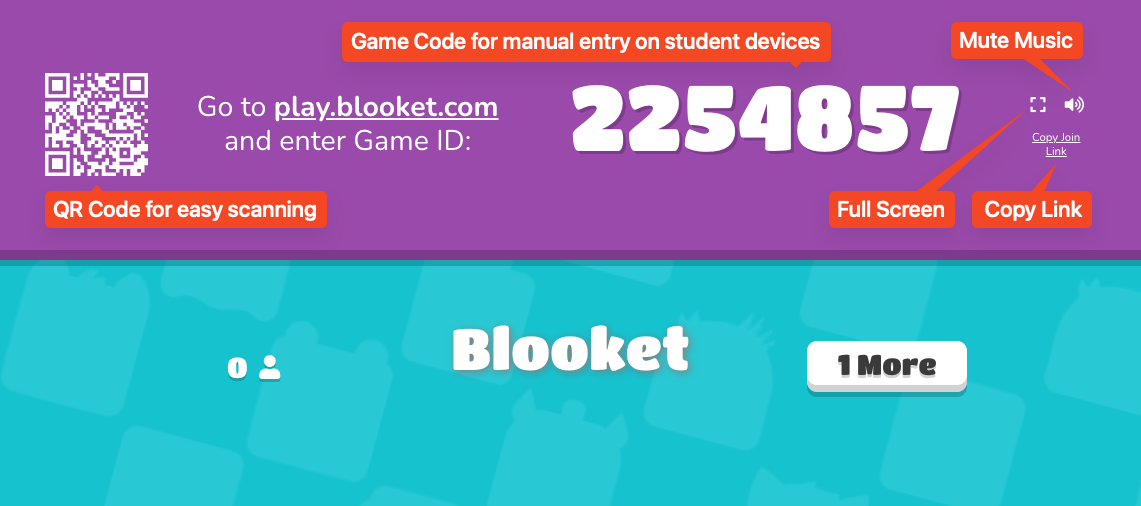
8. Now, with everything ready, you have to let your participants join the game. You can do this in three different ways.
(i) Scanning the QR code
(ii) Visiting play.blooket.com and entering the game ID.
(iii) Sharing the join link.
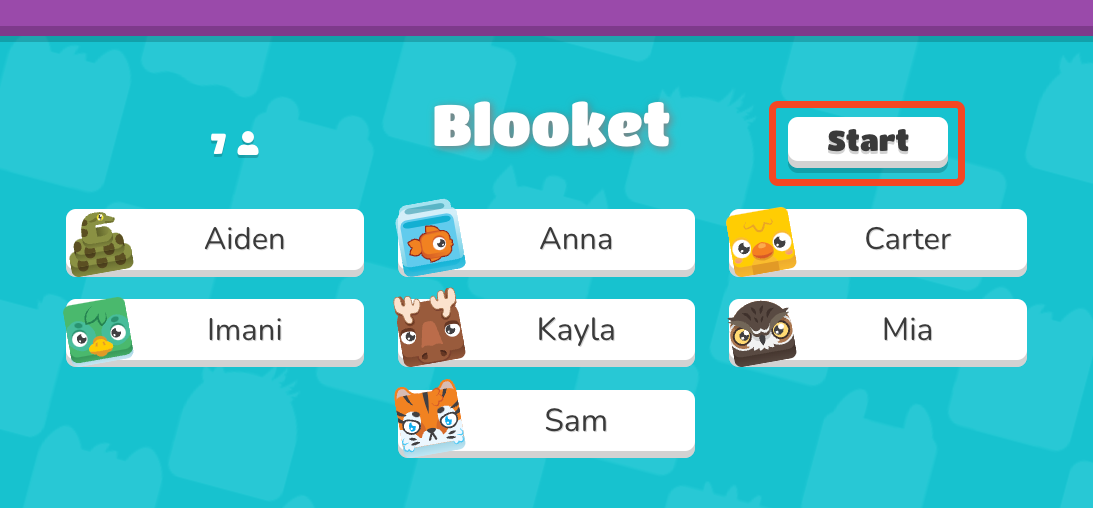
9. Once everyone has joined, click “Start” to begin. Now, you can display your screen to your audience. You also have options to make it full-screen or mute the music in the top corner.
Read More: – Why Is Blooket Not Letting Me Log In – Causes and Solutions
How to Create Your Own Set While Hosting Blooket Game?
Blooket understands that every person’s approach toward a subject is different, and you might want to create your question set as per your requirements. Here is how you can create your questions to host the Blooket game:
1. Go to the Blooket website and click the “Sign In” button. Enter your email and password to log in.
2. Once logged in, click on the “Create” tab at the top of the page.
3. To create your own set, click “Create a Set.” Name your question set and then click on “Create.”
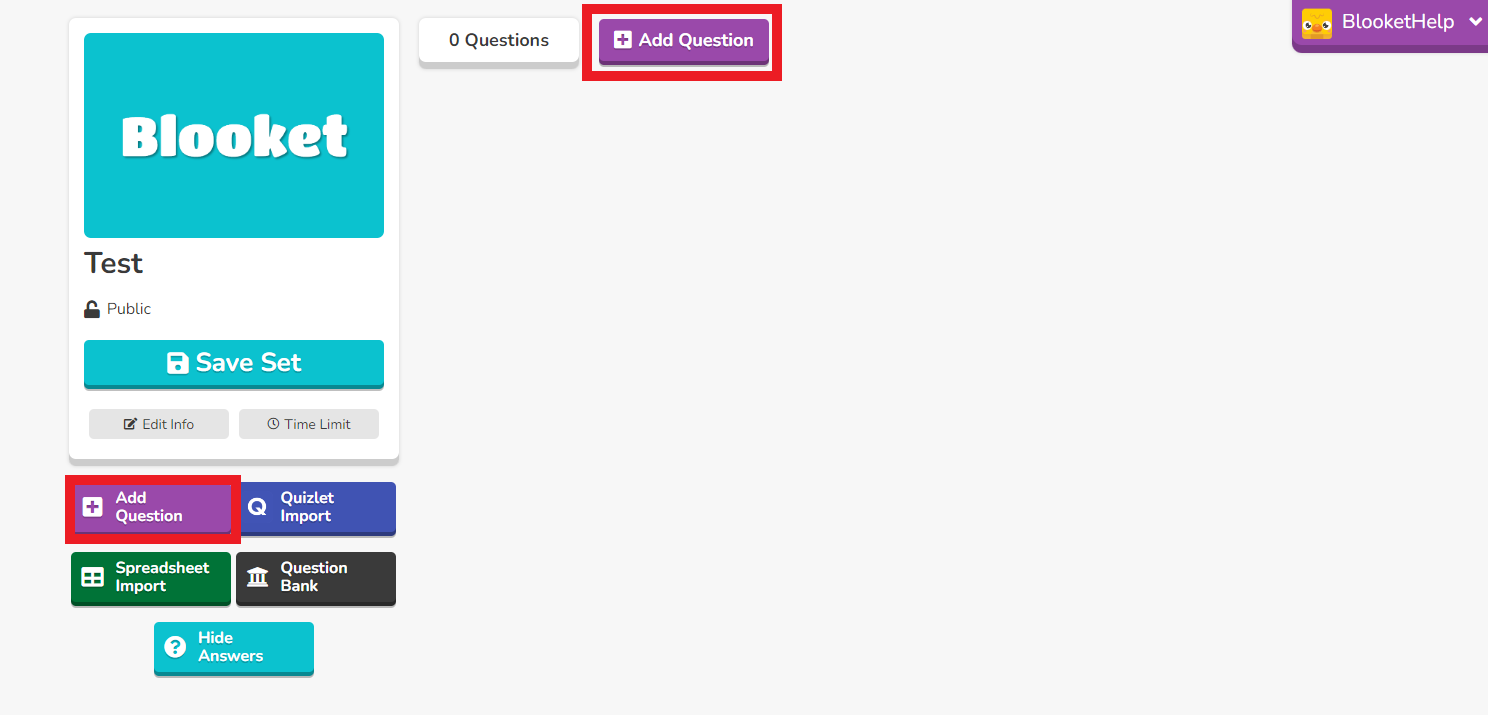
4. Now, start adding your questions and answers to the set. You can include multiple-choice options for each question.
5. Once you’ve added all your questions, click “Done.”
6. Now, go to the “Host” tab.
7. Choose a game mode. You’ll then be taken to a settings page where you can adjust things like the time limit and question sequence.
8. Finally, click “Host Now” when you’re ready to go.
Blooket will generate your game code. Share this code with your participants, who can enter it at blooket.com/play to join the game.
By following these steps you will be able to create your own sets to host Blooket games.
You May Like:- Blooket Join : How to sign up and login
Conclusion
That’s all we have for today. We hope with all this information you can now host Blooket games without facing any problems. Make sure you have all the basic requirements with you while setting up the game. It includes your Blooket account, stable internet connection, and your participants. Blooket makes learning interactive and fun so instead of treating it as just another task, have fun playing around while hosting these interactive games. We hope this article has answered all your queries about Blooket or about hosting Blooket games. If you still have any questions feel free to ask your queries in the comments. Happy learning!
FAQS
1. Can I Host Blooket Game as a Student?
Ans – While teachers are the ones who host Blooket games, students can also take on the role of host. Remember to get your teacher’s permission before hosting a game.
2. How many people can I host on Blooket?
Ans – You can host up to 60 participants on Blooket games.
3. Can you host a Blooket without logging in?
Ans – Nope! Only the teacher needs an account. You’ll be able to host a game, and any student can use the Game ID, QR code, or link to join without logging in.
4. Can you edit an existing Blooket?
Ans – The first step is to Open Blooket, and Click My Sets at the left-hand side of your screen. Click the Edit Icon on the Set which houses the question to be edited. Click the Edit Icon on the Question you want to edit. Click on the Question Text.
