The QuadCast S follows HyperX’s original QuadCast, which we reviewed earlier this year. The QuadCast S appears to provide users with a product that combines a few often desired upgrades to the original QuadCast, with almost identical internal components and similar aesthetics, save for a few differences. Follow us as we examine the QuadCast S to see if HyperX has improved on the previous model.
Table of Contents
Specifications
Microphone
- Power Consumption: 5V, 220mA
- Sample/Bit Rate: 48kHz/16-bit
- Element: Electret Condenser Microphone
- Condenser Type: Three, 14mm Condensers
- Polar Patterns: Stereo, Omnidirectional, Cardioid, Bidirectional
- Frequency Response: 20Hz – 20kHz
- Sensitivity: -36dB (1V/Pa at 1kHz)
- Cable Length: 3m
- Weight: Microphone – 254g, Shock Mount and Stand – 360g, Total with USB Cable – 710g
- Lighting: RGB (16,777,216 colors)
- Light Effects: 2 zones
- Connection Type: USB-C to USB-A
Headphone Output
- Impedance: 32 Ohms
- Frequency Response: 20Hz – 20kHz
- Maximum Output Power: 7mW
- THD: ≤ 0.05% (1kHz/0dBFS)
- SNR: ≥ 90dB (1kHz, RL=∞)
Packaging
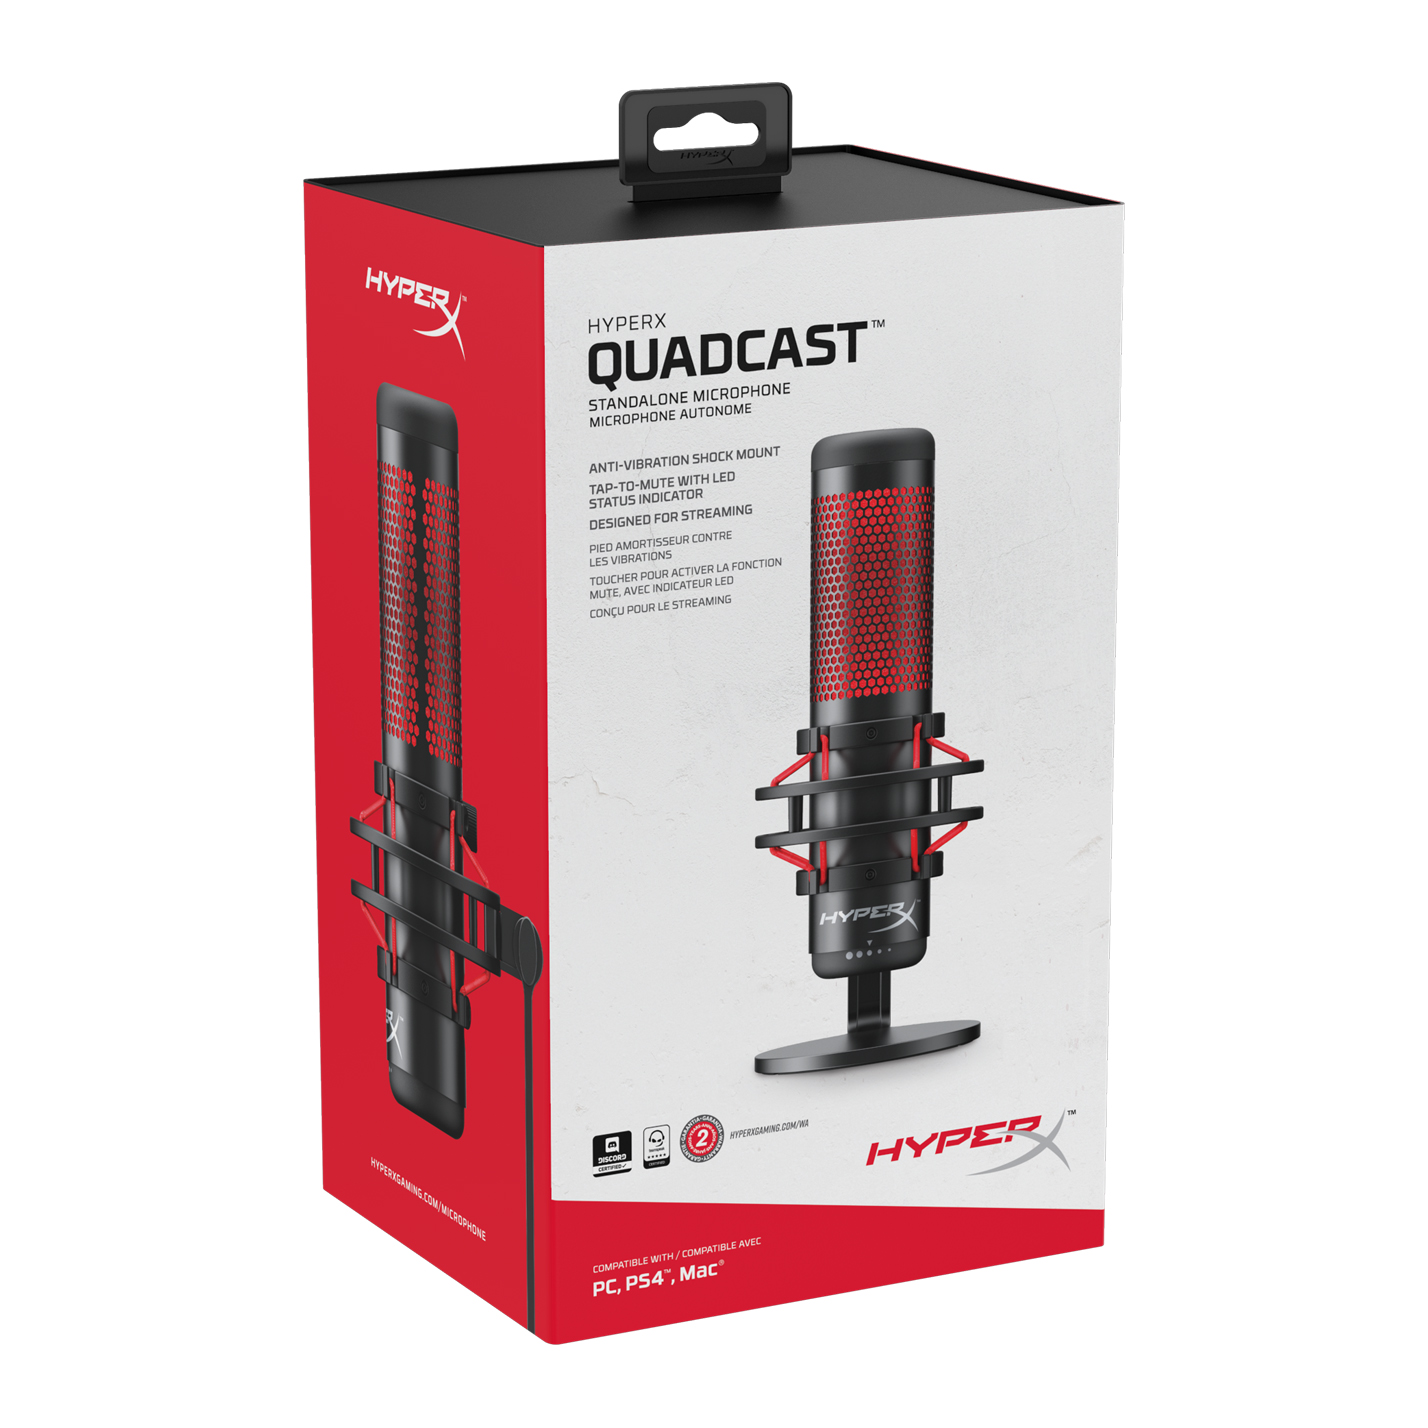
The QuadCast S, like its predecessor, comes in a stylish retail box with a front cover that prominently displays the microphone. HyperX also mentions a couple of the microphone’s most notable characteristics, as well as its compatibility with not only PCs but also PS4 and Mac devices. The back of the box lists a few more features in several languages, each of which is highlighted with a call-out picture that reveals where each feature is placed on the microphone.
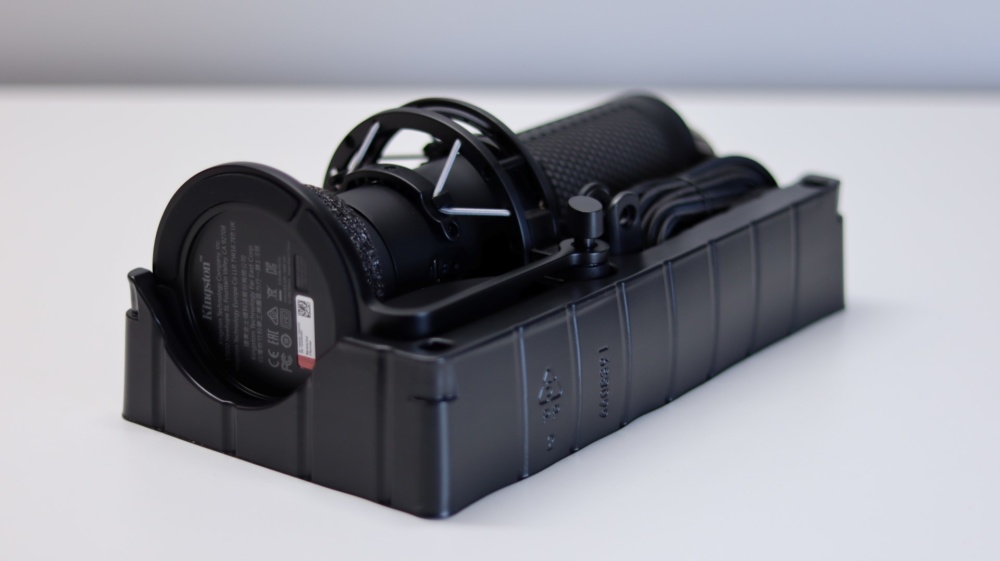
We can now access the microphone and related accessories after removing the outer box. A form-fitting two-piece plastic inner mold keeps the QuadCast S in place fairly nicely.
Interesting Blog:- WiFi Extender vs Booster vs Repeater – Best Comparison in Between
Accessories
A few components are included with the QuadCast S to assist in making it more versatile. The first is a braided USB-C to USB-A cable with a length of 3 meters. This nearly 10-foot cord allows you to set the microphone anywhere you need it without worrying about running out of cable length. This is especially useful if you’re mounting the QuadCast S on a microphone arm and want to keep the cord out of the way. This cable is an upgrade from the original version, which used a Micro-USB connector, and we’re glad to see the USB-C connector.
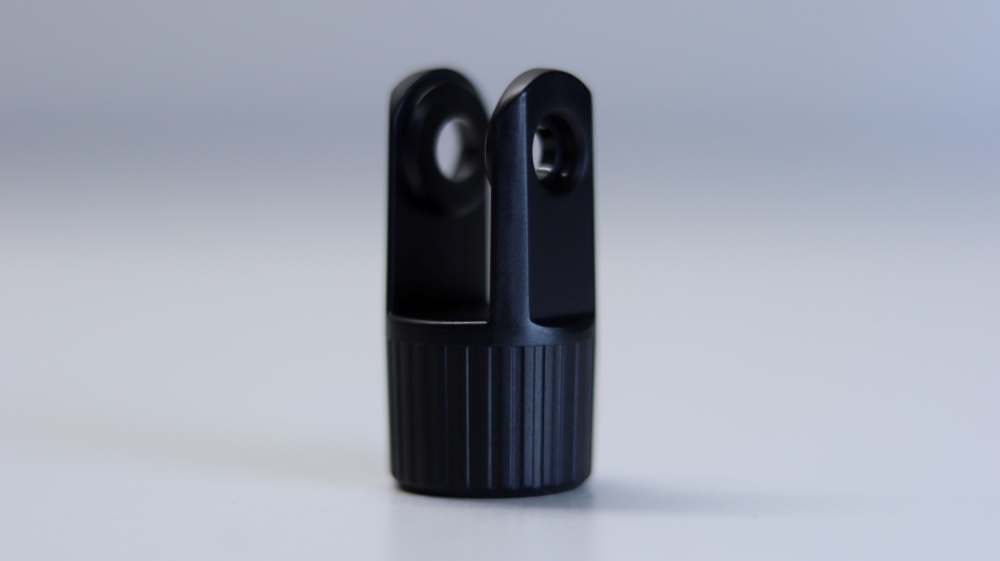
The QuadCast S also comes with an adaptor that is compatible with both 3/8′′ and 5/8′′ thread diameters for use with a microphone arm. This allows you to remove the microphone’s associated desk stand and replace it with the adapter for easy attachment to a microphone arm.
HyperX QuadCast S Overview
The QuadCast S, like its predecessor, is a solid microphone, especially when mounted on the supplied metal stand. The microphone’s plastic body, as well as the anti-vibration shock mount, are both matte black.
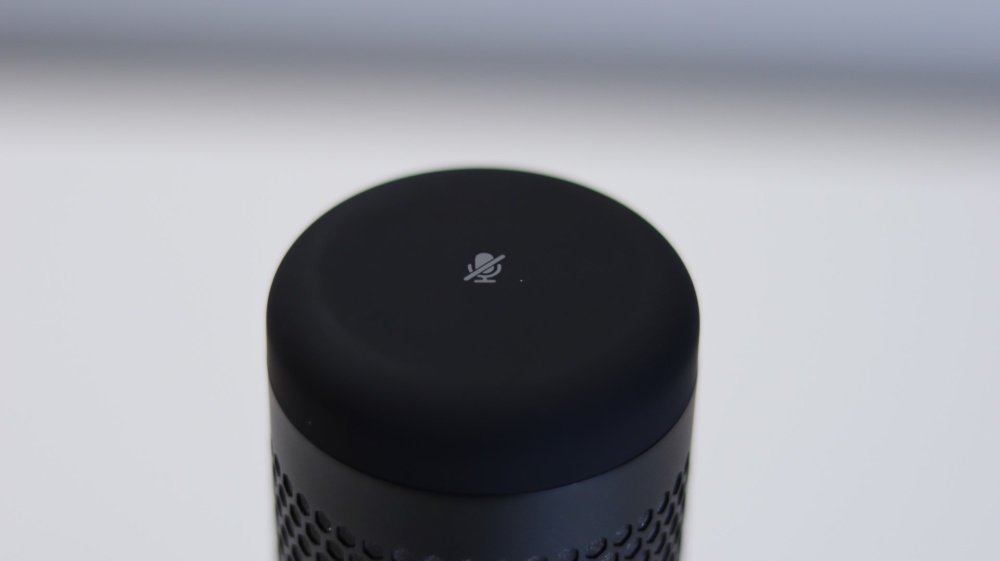
Starting at the top of the QuadCast S, we discover the mute sensor, which was one of the original QuadCast’s most unusual features. This is, in fact, a sensor, not a button. This is because of the touch-sensitive central piece of the QuadCast S’s top, which allows for tap-to-mute capabilities. We’re relieved to find that no functional modifications were made here, as this was one of the original microphone’s most used and useful features.
You May Like:- 10.0.0.1 Piso Wifi Pause Time – Easy Steps to Login
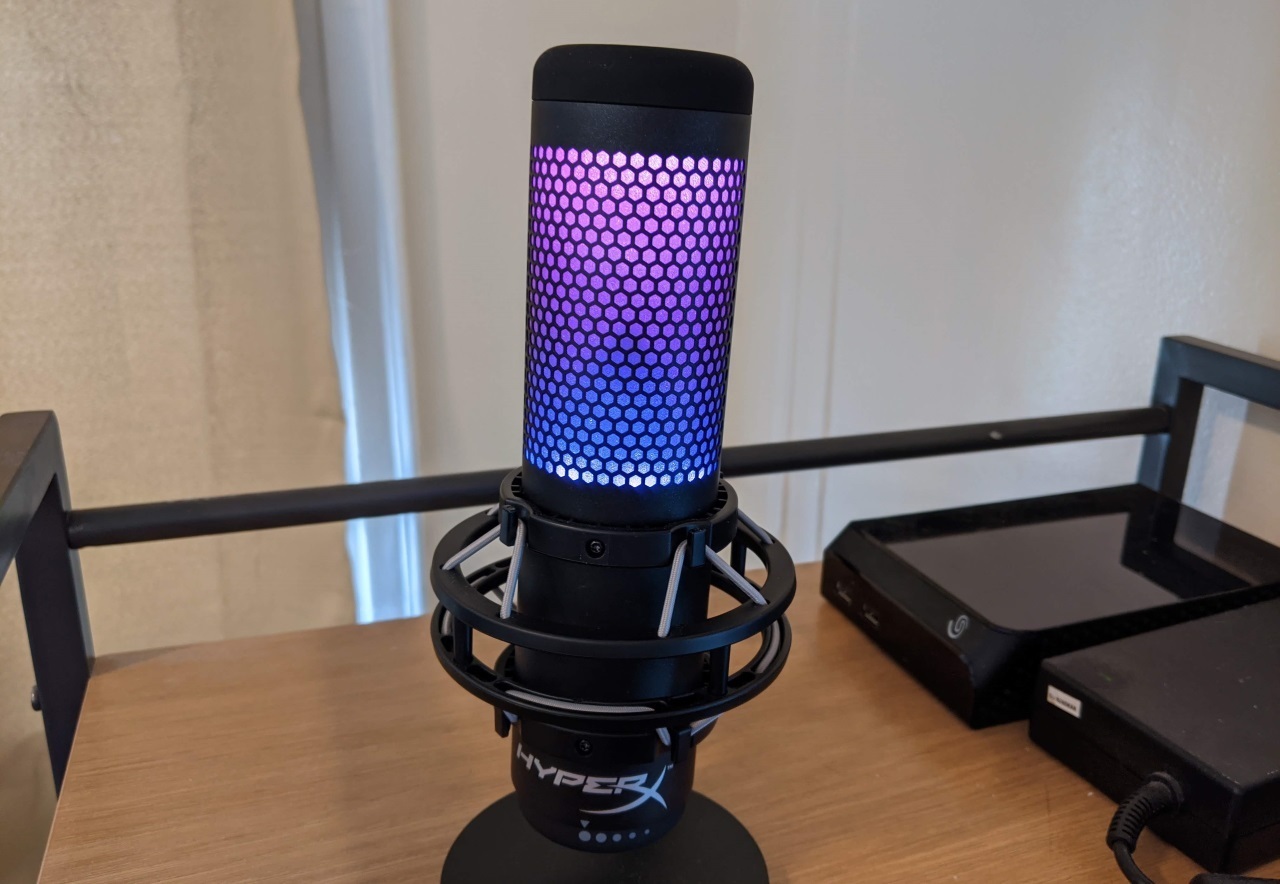
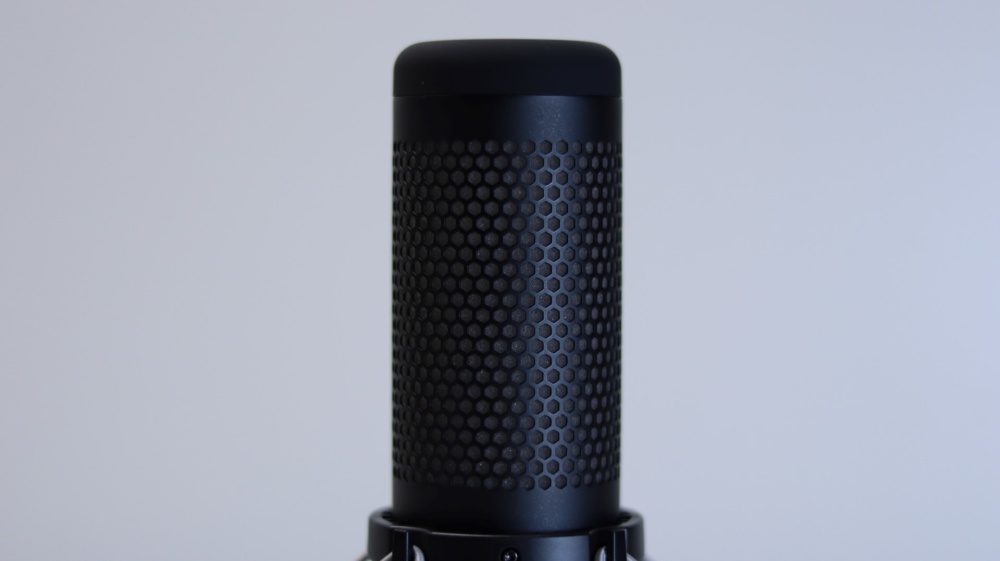
We come to the 360-degree perforated grille with a grey foam pop filter behind it as we move down. We like how HyperX went with a more modest, neutral color palette on the QuadCast S, as it looks more professional and allows for greater personalization, but more on that later. Three 14mm condensers are hidden behind the inbuilt pop filter, just like on the original QuadCast, and are a considerable improvement over any headset-based microphone.
When the microphone is unmuted, this grey area shines, and when muted, it is dark. This gives you a fantastic visual indicator of the microphone’s status, which can help you avoid those annoying “hot mic” situations or, even worse, long periods of talking before noticing you’ve been muted.
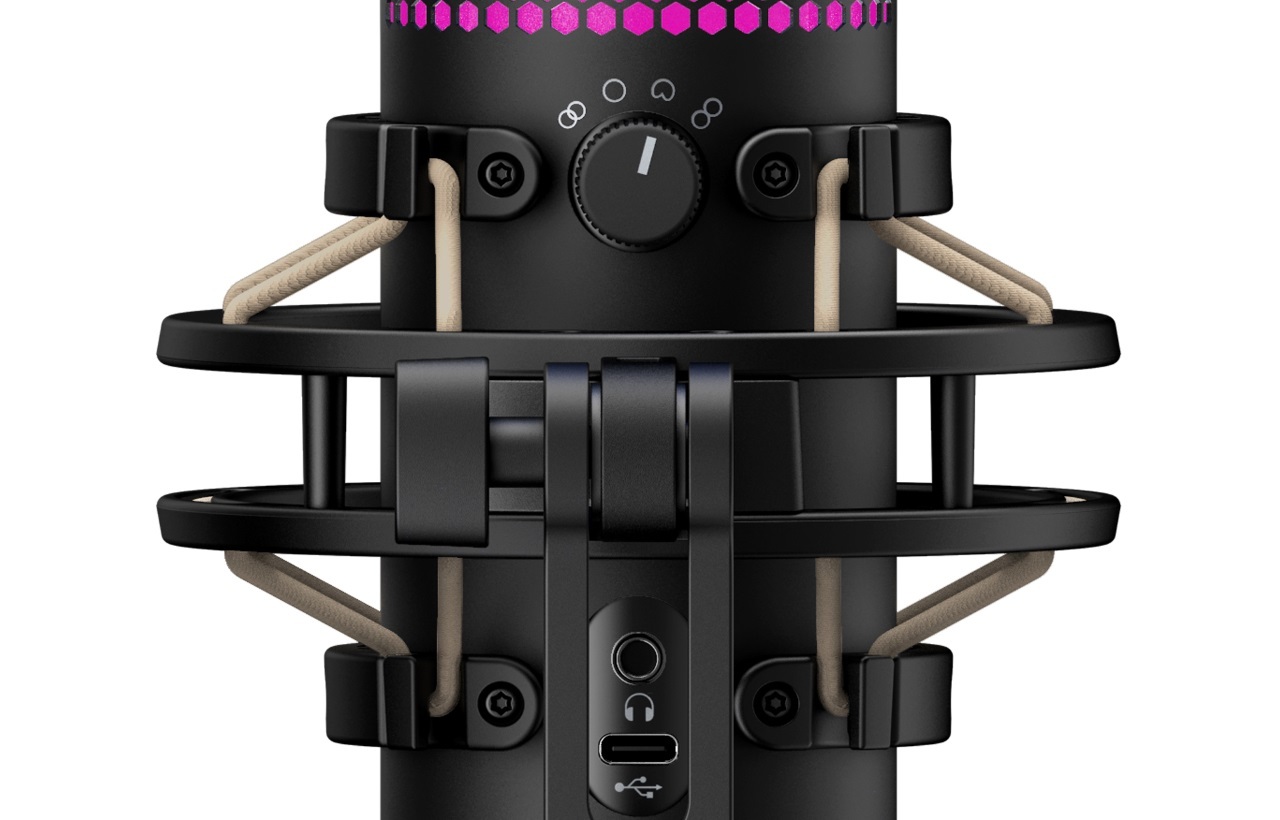
The anti-vibration shock mount is coupled to the microphone body through a plastic connection and grey elastic suspension cabling just below the microphone grille. This adaptable anti-vibration shock mount is compatible with both the factory-installed stand and the supplied dual-threaded microphone arm adaptor.
Accidental table bumps will no longer add an unwelcome thump to your records since the shock mount effectively eliminates them.
A four-position dial is located on the backside of the QuadCast S, in between the upper portion of the shock mount attachment, and is used to determine the polar pattern of the internal condenser microphone. From left to right, four options are accessible, each with its own set of benefits for different recording conditions. When the left and right audio channels need to be distinguished from one another, the left-most Stereo setting is used, which can be useful for spatial positioning.
The next option is Omnidirectional, which eliminates spatial orientation and ensures identical audio pickup regardless of your position about the microphone. Cardioid is the next pattern, and it’s arguably the most typical application for the QuadCast. This pattern excels in picking up sounds from in front of the microphone while ignoring audio from the sides and back. Bidirectional is the final option, which is ideal for face-to-face interaction, such as an interview-style podcast. The audio in front of and behind the microphone is picked up by this pattern, but audio to the left and right is ignored.
A 3.5mm headphone monitoring connector, as well as a USB Type-C port, are located on the back of the QuadCast S, farther down the body of the microphone. The headphone jack lets you listen to the microphone’s output in real-time, while the USB port connects the QuadCast to a compatible device. We were pleased to see the modification from the old Mini-B port to a Type-C connector, which makes a small difference when the cable is included.
A control dial at the bottom of the QuadCast S is used to alter the microphone’s gain. Even though the microphone’s body has five gain indicators, the dial goes well beyond these indicators in both directions, leaving you without a precise setting for consistency. We mentioned this in our original QuadCast review, and we wish HyperX had either limited the amount the dial could spin or labeled it with a larger, more realistic representation of the gain level.
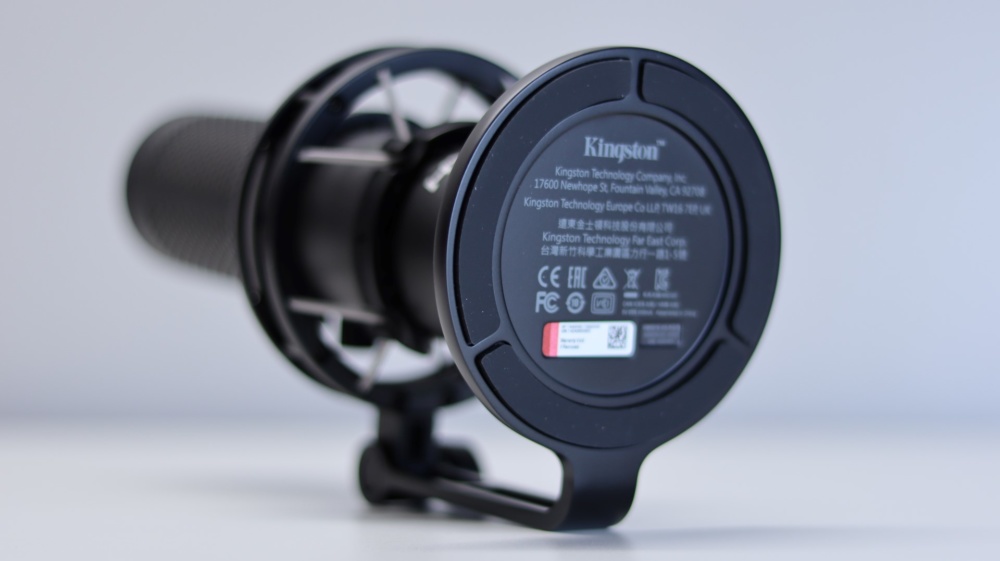
The desk stand for the QuadCast S is simple, but because of its all-metal design and sturdy base plate, it performs a wonderful job of keeping the microphone in place. The desk stand is made up of one piece and features an arm that reaches up from the back to allow the microphone body to rotate from vertical to around 45 degrees back.
This adjustment is simple to do, and the accompanying tightening knob aids in keeping the microphone in place.
QuadCast S Setup and NGENUITY
The QuadCast S was quite simple to set up, as Windows promptly detected it and made it available as a recording device. Simple adjustments to Discord and Streamlabs OBS were required to make it our input device, but beyond that, the HyperX QuadCast S was a true plug-and-play device. We could leave the microphone alone and be quite happy, but the QuadCast S is compatible with HyperX’s NGENUITY application, which gives us a little more control over some of the microphone’s features.
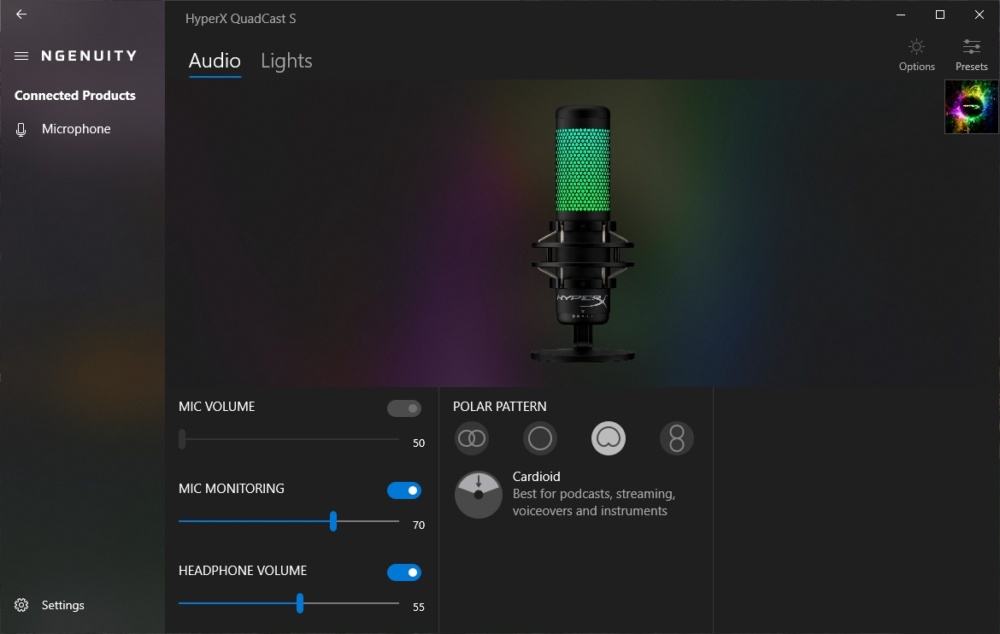
We were prompted for a brief firmware upgrade and to remove and re-plug the microphone after installing NGENUITY from the Microsoft Store. Once that was done, we could select the QuadCast S from the left-hand menu, albeit we wish it had a less general moniker than “Microphone” and that the true name was displayed here. However, after selecting the Microphone option, NGENUITY displayed the right product name at the top.
The QuadCast S’s first part is titled “Audio,” which makes sense given that it is an audio device. We get a visual representation of the microphone’s current lighting as well as a few adjustment sliders here. The first slider, “Mic Volume,” as well as the toggle switch for this parameter, are both greyed out. We believe this is due to the physical dial on the microphone that controls this capability.
Mic Monitoring, often known as a sidetone, comes next. This option controls how much microphone sound is broadcast to the 3.5mm socket, allowing you to hear what the microphone is picking up as well as any other audio sent to this output. The Headphone Volume slider, which regulates the overall volume of the 3.5mm audio connection, is the final control. There are also four polar pattern icons, each with brief instructions on how to use them when the dial is physically set to a specific setting.
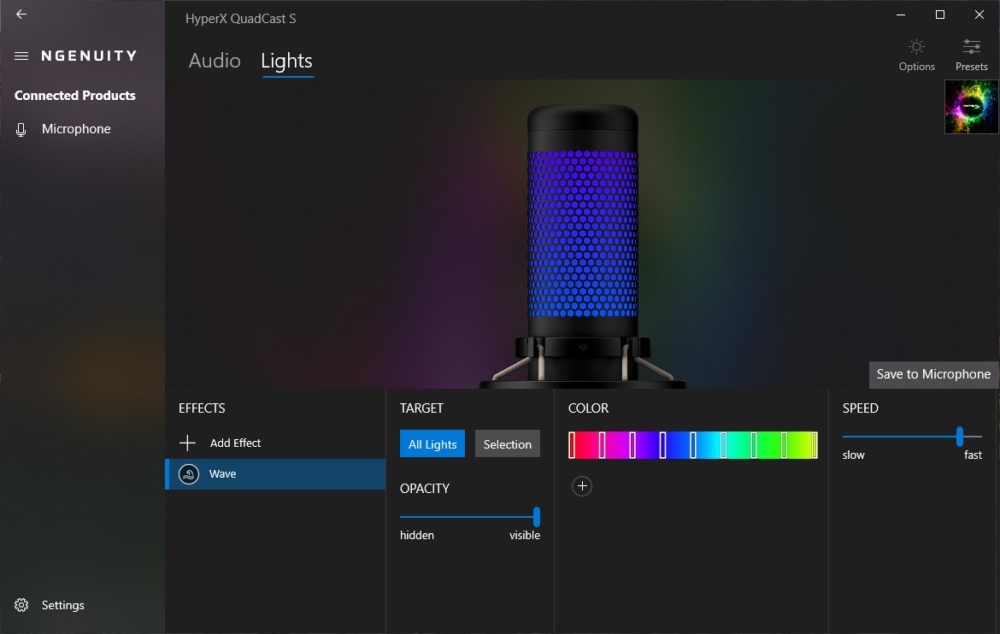
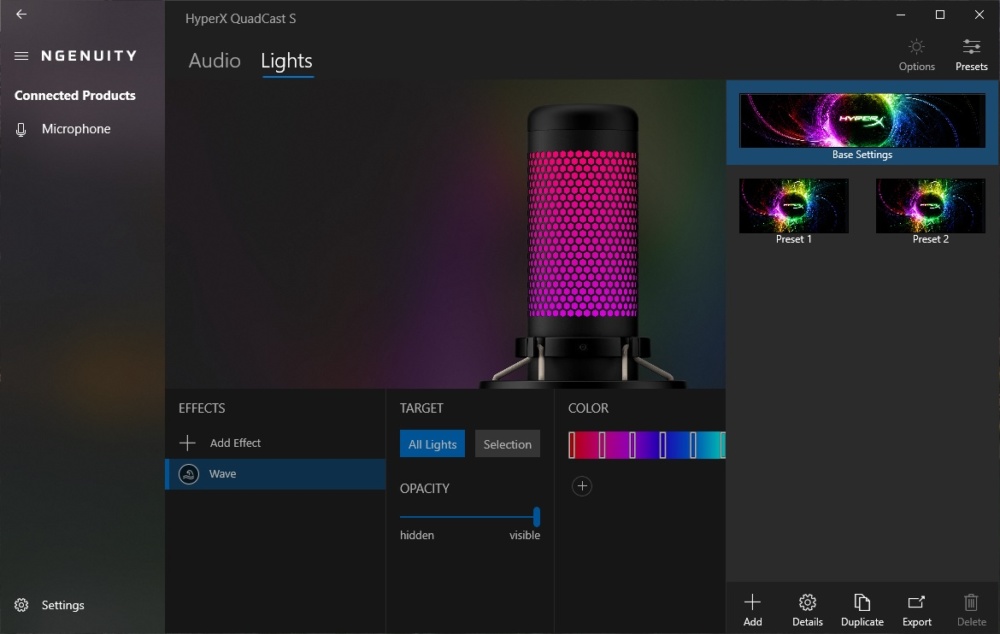
The application’s “Lights” section allows you to modify the two RGB LEDs in the microphone’s body. The possibilities are restricted with only two LEDs to deal with, but they include Solid, Blink, Cycle, Lightning, and Wave. Each option can be customized to some extent, so almost everybody will be able to find a setting that meets their requirements. For more accurate control, you can also change the pace of multiple lighting effects.
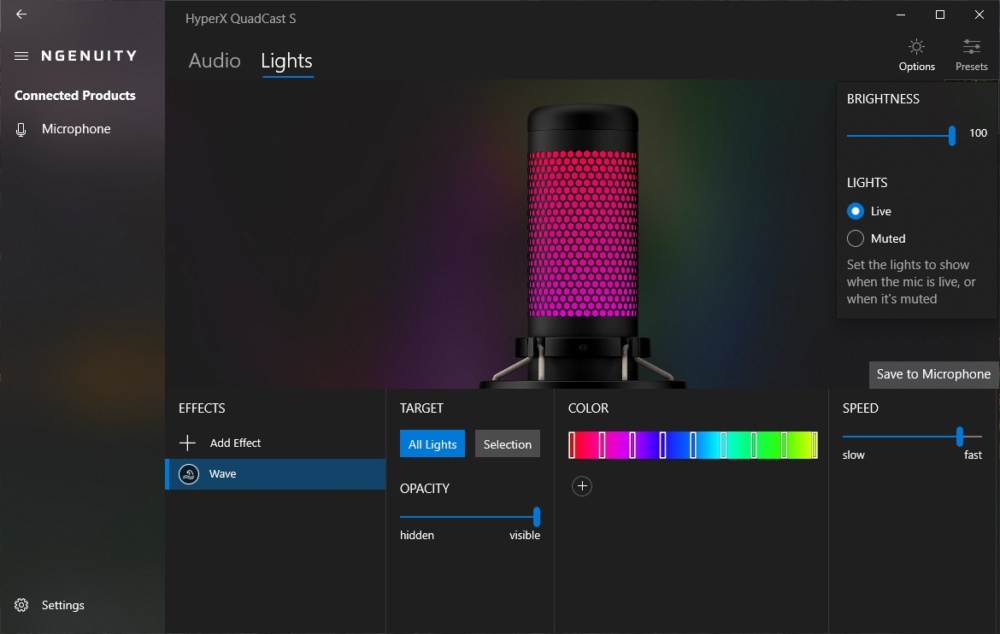
An Options and Presets button is located in the top-right corner of NGENUITY. You can choose whether the microphone should illuminate while muted or unmuted, as well as the brightness of the LED. This is a good alternative for anyone who was frustrated by the original QuadCast’s bright red microphone. We wish there was a way to have one lighting option for when the microphone is on and another for when it is off. This appears to us to be a rather simple implementation, and we may see it in a future edition of NGENUITY.
The Presets option allows you to create numerous unique microphone settings, which is useful in situations where you might want to use one polar pattern and mic monitoring level in one area and a different set of levels in another.
QuadCast S Usage
We’ve tried out the various polar patterns on the QuadCast S in several circumstances during our time with it. The Cardioid setting is what we’ve defaulted to for our most typical purposes, including streaming and podcast recording. We elected to use the provided threaded adapter and mount the QuadCast on a normal microphone arm to take advantage of the Cardioid pattern. This allowed us to position the microphone directly in front of us, allowing for excellent audio pickup of our voice while reducing audio pickup from our keyboard and mouse. This is especially crucial during our assessment because we don’t use NVIDIA RTX Voice, which would eliminate any background noise.
As we’ve mentioned in prior microphone reviews, switching from a headset-based microphone to a dedicated condenser-style microphone improves sound quality dramatically.
Final Thoughts
We knew the audio attributes of the QuadCast S were the same as the original QuadCast – a trio of 14mm condensers surrounded by an inbuilt pop filter – going into this review. This is combined with a four-position slider for polar pattern selection, making the QuadCast S an extremely adaptable microphone that can be used in a variety of circumstances, from streaming and podcasting to round-table conversation sessions.
When you add in the ability to use the regular base for a desktop installation or the dual-threaded microphone arm adapter, the use cases for this microphone extend in ways that other microphones don’t. We praise HyperX for sticking with the anti-vibration shock mount in both installation techniques, which might be lost with some other microphone designs, therefore we applaud them for sticking with it.
