Deploying a Python Flask app to AWS can be a little tricky at first, but it’s actually pretty straightforward once you get the hang of it. After the AWS account is set and your application is running on your local machine, you’re ready to deploy it to AWS!
In this article, we will walk you through the steps of deploying a Python Flask app to your AWS account. We will be using Amazon Web Services (AWS) to host our server, but this same process can be used for any other hosting platform as well.
In case your niche is not this technical but your work demands it, get help from industry experts, such as devops services. This step will save your time and eliminate the chances of any bugs/errors later in the process!
Table of Contents
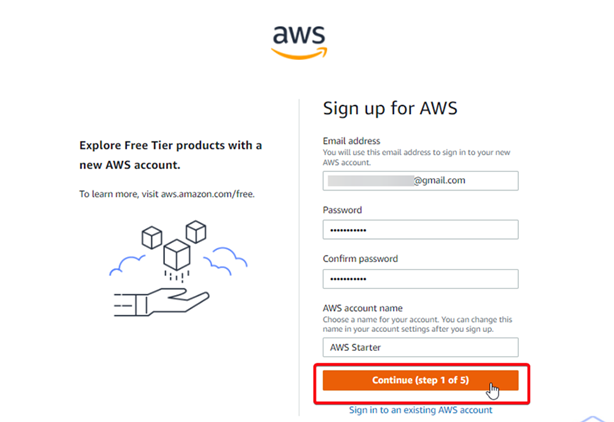
1. Create an AWS account
You’ll need to create an AWS account and then create a key pair. Once you have your account set up, log in to the console.
Next, create a security group for your app:
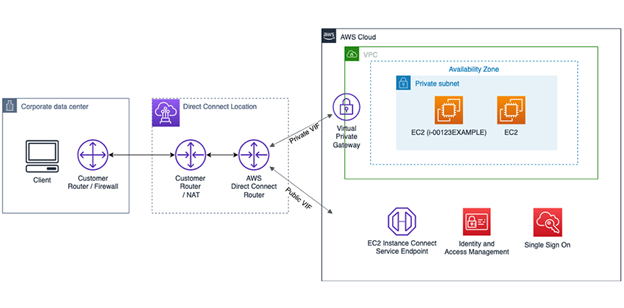
- Create a new VPC (virtual private cloud), which is a group of servers that are connected together as if they were one physical machine;
- Create an EC2 instance type that matches this VPC;
- Give it an ARN value so that it can be used by other services like IAM user accounts and Lambda functions;
Now we’re ready for some fun!
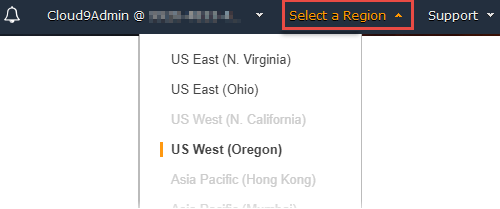
2. Select the region
The first step is to choose a region for your AWS account.
This is important because it determines how fast data will be transferred, how much you pay in fees, and what laws apply to your data storage.
In general, choosing an Amazon Web Services (AWS) region closest to where customers are located helps reduce latency (the time it takes for information or data packets to travel between locations) by reducing network hops across multiple physical networks. It also reduces cost because there are fewer connections needed between locations within a single country or continent; this reduces bandwidth usage as well as other costs associated with connecting different networks together via VPNs or other means. Enrolling in AWS Training can empower you with the knowledge to make informed decisions in optimizing your AWS infrastructure for performance and cost-efficiency.
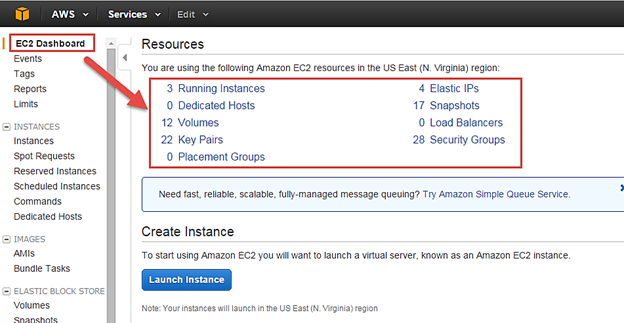
3. Create an EC2 instance
To create an EC2 instance, you will need to follow these steps:
- Create a new key pair. This step is optional and not required if you have already created your Credentials file in the previous step.
- Create a new Security Group for your application with the following settings:
- Only allow access from My Private IP Range (for example, 10.0.0.0/8) and Deny All other IPs
- Allow SSH access only from My Private IP Range (for IIS)
4. SSH into the AWS EC2 instance
To SSH into the AWS EC2 instance, you will need the public IP of your EC2 instance.
If you don’t have access to this information, try searching for it on Google. It should look something like “EC2 Instances Public IP” or similar phrases. The next step is to install PuTTY on your local machine so that you can use it later when connecting to remote machines from there (the same goes for Terminal).
5. Install dependencies
First, you need to install the following dependencies:
- Python 3.6+ (2 is not supported)
- python-pip, virtualenv and virtualenvwrapper
Then, create a new directory where your Flask app will be located.
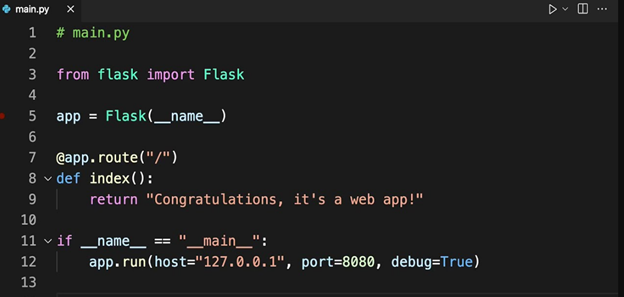
6. Run Flask application in the background
You can run your Flask app in the background by using the nohup command. This will keep running even if you close the SSH session. To make sure that it keeps running, we need to use some additional options using some commands.
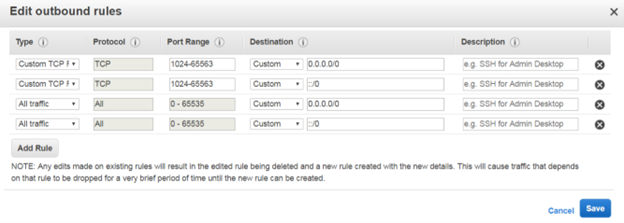
7. Set up a security group to allow traffic in port 5000
Once you have your security group set up, we’ll need to open the appropriate ports for our application. In this case, we want to allow all traffic in port 5000 (the Flask web server). We will also be opening up 8080 and 8081 so that users can access our containers on those ports as well. Finally, we will be allowing access from 8181 because Amazon Elastic Container Registry is running on this machine as well.
8. Test the Python Flask app on your local machine via the browser
To test the Python Flask app on your local machine, you will need a browser and an IP address of your EC2 instance.
Once you’re ready to deploy your application, you’ll want to make sure that it’s secure by adding a security group. A security group allows for the separation of public and private resources in an AWS account. This ensures that only authorized users can access the resources they need for their applications and development processes—and prevents unauthorized access from those not part of your organization.
Conclusion
Deploying your Python Flask app to AWS is easy and straightforward. We hope this guide helps you get started on setting up your Python Flask application on AWS. There are many other ways to deploy your app and services that you can find online.

