Video scheduler internal error can cause PC crashes while using your computer. When this BSOD error occurs, you will not be able to save any work on your system. This error is usually caused by graphics driver issues. It can also be caused by malware.
However, there are several ways to fix this BSOD error. This guide reviews what this error is, its causes, and possible solutions to fix it.
Table of Contents
What is Video Scheduler Internal Error?
Blue screen of death (BSOD) is technically called a stop error. This type of error occurs when there is some driver conflict, potential infection by malware, or any other conflict that may have caused the error. Completely. BSOD errors can occur on all Windows operating systems, including Windows 7, 8, 10, Windows Vista, and Windows XP.
BSOD error VIDEO_SCHEDULER_INTERNAL_ERROR occurs abruptly when you recently install new hardware or software. It’s usually due to new software or hardware video drivers that cause conflict between Windows 10 and the drivers.
Here’s How the Message Appears:
“Your PC ran into a problem and needs to restart. We’re just collecting some error info, and then we’ll restart for you. (0% Complete)”
After the blue screen with this message appears on your screen, you need to wait until the process reaches 100% and then search for the solution.
What is the Cause of the Video Scheduler’s Internal Error?
It is important to know the cause of this error before attempting to resolve it. If you look at the user reports and repair strategies used to address this particular issue, you will find that this BSOD error occurs for a number of reasons. The main reason is the graphics card driver problems. However, for you, I have compiled these two reasons below.
- Incompatible or Outdated Graphics drivers
- Virus or Malware infection
- Corrupt Windows system files
- Corrupted registry files
- Hardware-related issues
How to Fix Video Scheduler Internal Error
Without wasting much time, let’s jump right into it and fix this error using the troubleshooting guide listed below. Make sure you create a restore point in case something goes wrong.
Solution 1 – Run System File Checker (SFC) and Check Disk (CHKDSK)
- Press the Windows logo key + X at once and click on Command Prompt (Admin).
- Now enter the following in cmd and press the Enter button on your keyboard:
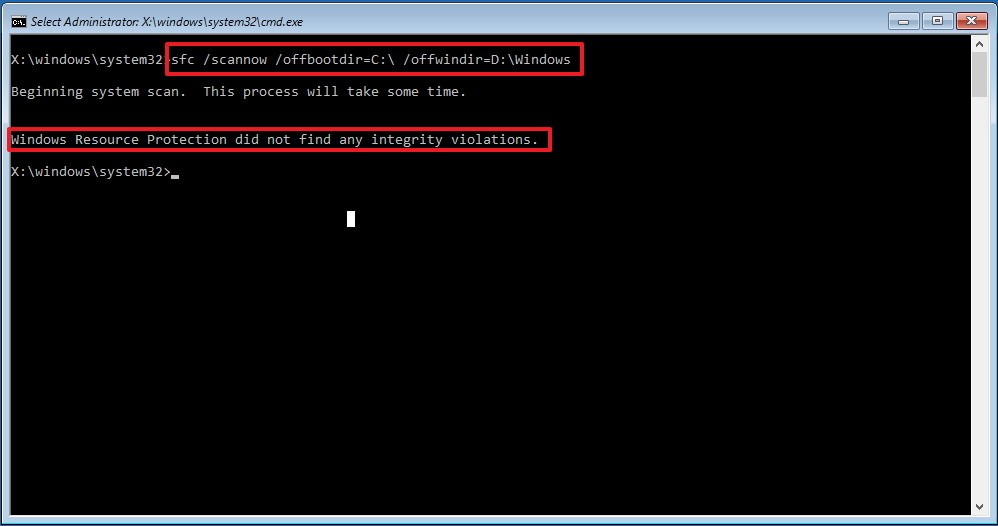
- Sfc /scannow
- SFC /scannow /offbootdir=c:\ /offwindir=c:\windows
- Wait until the process is complete, then restart your computer.
- Now, you need to run the CHKDSK command by tying CHKDSK C (replace C with your source drive letter).
- Allow the process to reboot your computer to save the changes.
Solution 2 – Implement DISM (Deployment Image Service and Management)
- Press the Windows logo key + X at once, then select Command Prompt (Admin).
- Type the following command one by one and press the Enter button on your keyboard:
- Dism /Online /Cleanup-Image /StartComponentCleanup
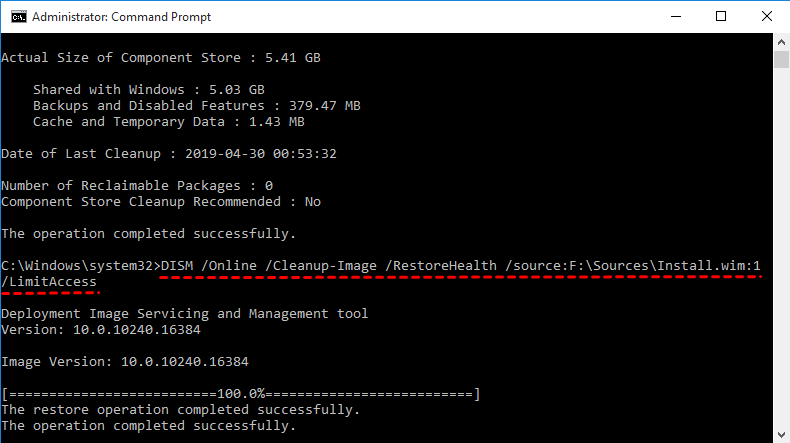
- Dism /Online /Cleanup-Image /RestoreHealth
- If the above command does not work, you should try the following:
- Dism /Image:C:\offline /Cleanup-Image /RestoreHealth /Source:c:\test\mount\windows
- Dism /Online /Cleanup-Image /RestoreHealth /Source: c:\test\mount\windows /LimitAccess
- Make sure to replace C:\RepairSource\Windows with the current directory.
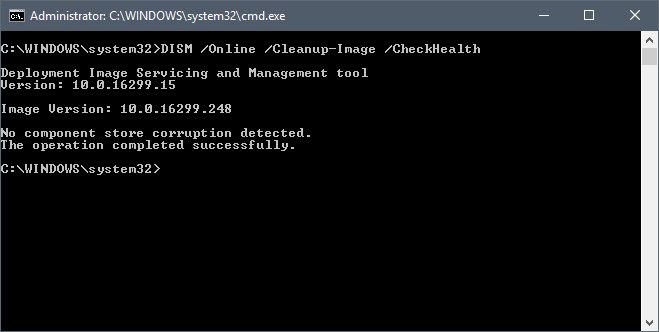
- Now run the command to check the integrity of the system:
- Dism /Online /Cleanup-Image /CheckHealth
- Reboot your computer now to save the changes.
Solution 3 – Uninstall the graphics card driver
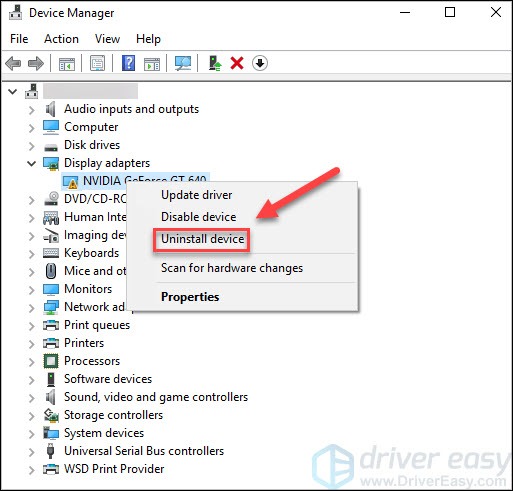
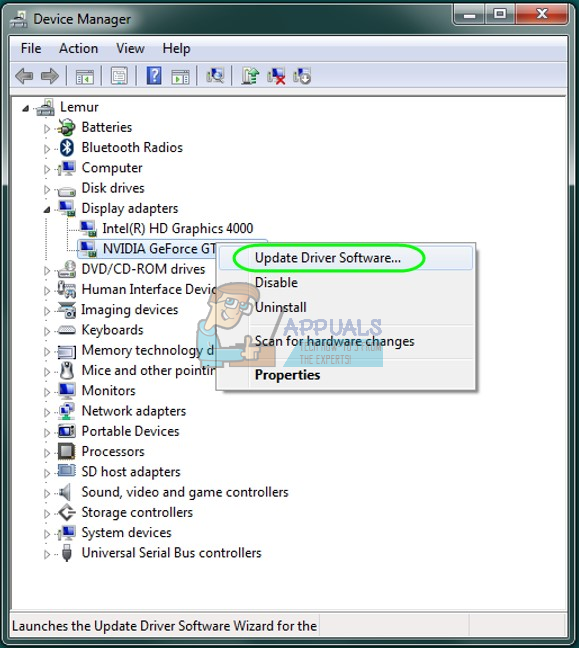
- Go to Device Manager, expand the Display adapters section, right-click on your Nvidia graphics card and click Uninstall. If asked for confirmation, click Yes.
2. Type control panel in Windows search and then click on Control Panel from the search result.
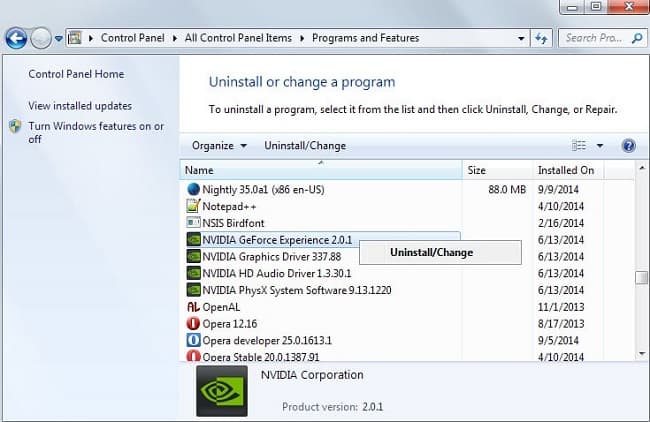
3. From the Control Panel, go to program and features.
4. Now uninstall all apps related to NVIDIA (Drivers and GeForce Experience).
5. Reboot your system to save the changes and download the driver setup from the manufacturer’s website.
6. Reinstall the driver and check if this fixes the problem
Solution 4: Update your graphic drivers
- Download and install IObit Driver Booster from their website.
- After installing, open the app, click on scan to check all the outdated drivers.
- After scanning, the app will display a list of outdated drivers found on a computer.
- Click on update all to update the outdated drivers. this may take 10 to 15 minutes depending upon the size of drivers being installed.
- After all the drivers have been updated, restart your computer to make changes into effect.
Solution 6 – Run Disk Cleanup
This solution is also effective in troubleshooting video scheduler internal errors. Disk Cleanup is a built-in tool in Windows that helps you remove unnecessary and temporary files that are not needed. To run Disk Cleanup,
- Go to this PC and right-click on C: drive to select properties.
- Now from the Properties window, click on Disk Cleanup under the General tab.
- It will take some time to estimate how many files are there are to clean the disk.
- Now click on Clean up System Files under Description.
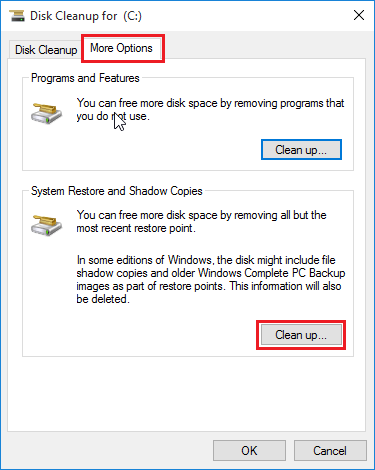
- In the next window that opens, make sure that everything below the files is selected, and then click OK to run Disk Cleanup. Also, go to the more options tab and choose Clean-up under System Restore and Shadow Copies.
6. Restart your PC after disk cleanup to reflect changes. Try running the setup again, to check if the issue is solved.
How to Fix Video Scheduler Internal Error in League Of Legends
There are some solutions to this problem and we will discuss them step by step. Among them are:
Update your Graphics Card Drivers
When you encounter this BSOD error, the problem may be from your PC’s current drivers. Your graphics drivers are corrupted or outdated. You can update your drivers manually or automatically. Follow the steps below;
If you are using an Nvidia graphics card, follow these steps.
- Press Win + R at the same time. This action prompts you for the Run dialog box. Enter msconfig to open the system configuration and click OK. Now, check Safe Boot on the Boot tab. Click
- Restart and boot into safe mode. Go to on PC> Local Disk. You will see the Nvidia folder. Delete it.
- Go to device manager by typing the same name in the start menu and click on the result.
- Open the “Display Adapters” field and right-click on the Nvidia adapter you want to uninstall. Then select “Uninstall“. Remove the adapter from the list and click “OK” to uninstall the driver
5. Press Win + R simultaneously to request the Run box. Enter msconfig and open the system configuration. Click the Boot tab, uncheck the Safe Boot option, and click OK. Now, click Restart.
6. Download the latest Nvidia driver. When you are done, install the Nvidia driver. Click on the Custom Installation option and tick all the boxes, including the “Clean Install” box. Restart your PC.
Fix Video Scheduler Internal Error in Fortnite
Many gamers experience this BSOD error while playing League of Legends. For this reason, we have compiled a solution to this problem. But before solving this problem, it is important to understand the causes.
How to fix video scheduler internal error party night
You can solve this problem using the step-by-step solutions below.
Delete the .bat file
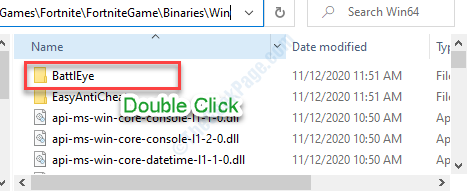
- Go to C:\Program Files\Epic Games\Fortnite\FortniteGame\Binaries\Win64\BattlEye
- Click on bat file (Windows batch file).
- After that, click on the bat file.
Fix Video Scheduler Internal Error in CS: GO
In order to fix the error, follow the above-mentioned solutions first, then follow the one mentioned below
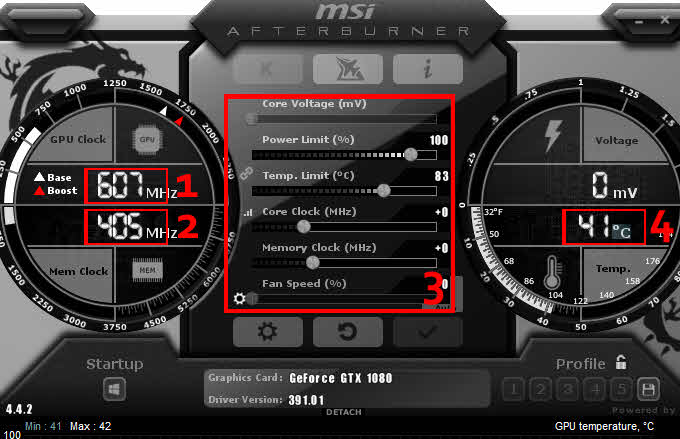
Stop Overclocking your GPU
Overclocking is the best way to increase your PC performance. But when you go too far, it can lead to crashes. So, if you get this BSOD error, you can fix it by resetting the overlocking to the default settings.
How to Fix Video Scheduler Internal Error after Windows Update
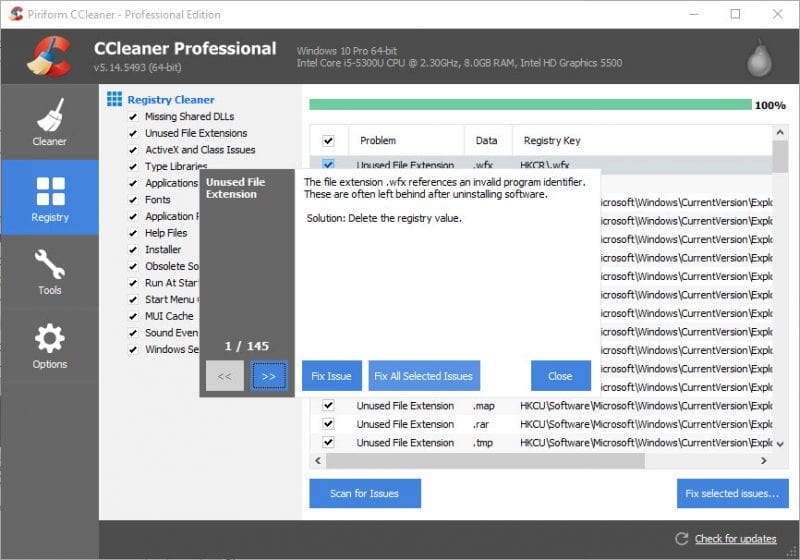
Apart from the above-mentioned solutions, you can fix this blue screen of death error by running CCleaner. To do this, follow these steps:
Run CCleaner
- Download and install CCleaner from the website (it’s free).
- Open CCleaner, click on health check, and then click on next until it starts scanning.
- After scanning, it will display all the junk and temporary files that need to be removed from the system.
- Click on “make it better” to remove all the residue left over by the app.
- After that click on a registry and click on “scan for issues” and after few seconds it will display all registry files that are leftover by the app.
- Click on “fix selected issues” and then click “fix-all” to remove the leftover registry files. Restart your computer.
